Getting ready for Halloween can be such a fun time, can't it? Lots of folks really look forward to decorating their homes, and, you know, pumpkins are a big part of that. But sometimes, the idea of carving a pumpkin can feel a bit much, especially if you're not a super artist. That's why we're going to talk all about simple pumpkin carving ideas that anyone can do.
Simple is often the best way to go, honestly. You don't need fancy tools or hours of practice to make something cool. It's really about having a good time and getting into the spirit of the season. And, you know, it's not like trying to get a description from "My text" – which apparently won't allow us to show you anything there. Our ideas are totally open and ready for you to try.
So, if you're looking for ways to make your pumpkin look great without a lot of fuss, you've come to the right spot. We've got plenty of easy pumpkin designs that are just right for beginners, or anyone who wants a quick but lovely decoration. It's pretty much all about making Halloween decorating stress-free and enjoyable, don't you think?
Table of Contents
- Why Simple Is Best for Your Pumpkin Fun
- Tools for the Job: What You'll Need
- Getting Your Pumpkin Ready
- Classic Simple Carving Ideas
- Modern & Creative Simple Designs
- No-Carve Pumpkin Fun: Easy Alternatives
- Tips for a Great Carving Experience
- Frequently Asked Questions About Simple Pumpkin Carving
- More Pumpkin Fun
Why Simple Is Best for Your Pumpkin Fun
Choosing simple pumpkin carving ideas really takes the pressure off, you know? It means you can have a really good time without feeling like you need to be an expert sculptor. Simple designs are often the most striking, too. They get the message across quickly, and they look great from a distance. Plus, they are a lot quicker to finish, which is pretty handy when you have other Halloween things to do.
For families, simple designs are just perfect. Little hands can help out a lot more with basic shapes and bigger cuts. It makes the whole activity something everyone can join in on, which is a very nice feeling. You get to spend quality time together, and that's what matters most, really. It’s a low-stress way to make some lovely memories.
Think about it: a simple design means less chance of making a mistake you can't fix. It also means you won't get tired halfway through the project. You'll actually finish it and feel proud of what you've made. This year, as we head into October 2023, lots of people are looking for easy ways to celebrate. Simple pumpkin carving is definitely a trend that sticks around for a good reason.
Tools for the Job: What You'll Need
Having the right tools makes a big difference, even for simple pumpkin carving. You don't need a whole lot of special items, but a few key things will make the process much smoother. It’s about being prepared, so you can just enjoy the carving part, you know?
Essential Gear
First, you'll want a good, sturdy scoop. This helps get all the insides out. A large spoon from your kitchen drawer can work, or you can find specific pumpkin scoops. They are often a bit stronger, which is helpful for those stringy bits. You'll want a big bowl for all the pumpkin guts, too.
For cutting, a small, serrated saw is usually best. These come in most pumpkin carving kits. They are designed to cut through the pumpkin wall easily without getting stuck. A sharp kitchen knife can also work for the top opening, but be very careful with it. Smaller tools, like little saws or pokers, are good for the details, even simple ones. A dry-erase marker is also super useful for drawing your design first. You can just wipe it off if you make a mistake, which is pretty convenient.
Don't forget some paper towels or an old rag. Pumpkin carving can get a bit messy, so having something to wipe hands and tools clean is a really good idea. You might also want a flashlight or a candle to test your design as you go, to see how the light shines through, you know?
Safety First
Safety is a big deal when you're carving pumpkins. Even with simple designs, you're still working with sharp things. Always have an adult do the cutting, especially for the top opening and any deep cuts. Kids can help with scooping out the seeds and drawing the faces, which is still a lot of fun for them.
Always cut away from your body, too. Hold the pumpkin steady with one hand and cut with the other. If the pumpkin moves, you could slip. It's better to go slow and be careful than to rush and get hurt. A good, flat work surface helps a lot, too. A kitchen table covered with newspaper or a plastic tablecloth works really well for this kind of project. Just be aware of where your fingers are at all times, basically.
Getting Your Pumpkin Ready
Before you even think about cutting, you need to get your pumpkin ready. This part is pretty important for a good carving experience. It helps make sure your pumpkin is clean and ready for its new look, so to speak.
Picking the Perfect Pumpkin
When you're choosing your pumpkin, look for one that feels firm and has no soft spots. A pumpkin with a flat bottom will be easier to work with, as it won't roll around while you're trying to carve it. A smooth surface is also nice for drawing your design. For simple ideas, you don't need a giant pumpkin. A medium-sized one is often just right and easier to handle, you know?
Check the stem, too. A healthy, green stem usually means the pumpkin is fresh. Avoid pumpkins with broken stems, as they might not last as long. Think about the shape you want. A tall, skinny pumpkin might be good for a spooky ghost, while a rounder one is perfect for a classic happy face. It's all about what you like.
Prep Steps
Once you have your pumpkin, it's time to get it ready for carving. First, wipe the outside clean with a damp cloth. This gets rid of any dirt or mud. Then, you'll need to cut a hole to get the insides out. Most people cut a circle around the stem at the top. Make sure the hole is big enough for your hand and scoop to fit through. Cut at an angle, so the lid has a little ledge to sit on, preventing it from falling in.
Now comes the fun, messy part: scooping out the guts! Use your scoop or a sturdy spoon to get all the seeds and stringy bits out. Scrape the inside walls until they are pretty smooth, about an inch thick. This makes it easier to carve and helps your light shine through better. You can save the seeds for roasting later, if you like. That's a nice little treat, actually.
Classic Simple Carving Ideas
Some pumpkin designs are just timeless, you know? They are easy to do and always look great. These are perfect if you want that classic Halloween feel without a lot of fuss. They are pretty much guaranteed to make people smile.
Friendly Faces
The classic jack-o'-lantern face is super simple. You can draw two triangles for eyes, a smaller triangle for the nose, and a zig-zag line for the mouth. Or, you can make round eyes and a simple crescent moon smile. Use your dry-erase marker to draw it first. If you don't like it, just wipe it off and try again. This gives you a lot of freedom, which is nice.
For a really simple friendly face, you could even just do two circles for eyes and a wide, happy smile. No need for teeth or anything complicated. Just make sure your cuts are clean. This kind of face is always welcoming, and it's very easy for anyone to draw and then cut out. It's a classic for a reason, you know?
Geometric Shapes
Using basic shapes like circles, squares, or stars can make a really cool pumpkin. You can cut out several different-sized circles all over the pumpkin for a polka-dot look. Or, try a pattern of squares. These are very easy to draw with a ruler and then cut out. They look modern and clean, which is pretty neat.
Stars are also a good choice. You can find star-shaped cookie cutters that you can press into the pumpkin to make an outline, then just cut around it. This is a very quick way to get a neat star shape. Repeating the same simple shape all over your pumpkin creates a striking effect without needing a lot of artistic skill. It's surprisingly effective, you know?
Starry Night
This idea is super easy and looks really magical. Instead of carving big holes, you just poke a bunch of small holes all over the pumpkin. You can use a drill with a small bit (with adult supervision, of course) or a pumpkin poking tool. Draw constellations or just random star patterns. When you put a light inside, it looks like a night sky, which is pretty cool.
You can vary the size of the holes for different "star" effects. Some bigger, some smaller. This design is also great because it makes the pumpkin last longer, as you're not removing large sections. It's a very pretty and gentle way to light up your porch. It's quite captivating, actually, and very simple to achieve.
Modern & Creative Simple Designs
If you want something a little different but still easy, there are plenty of modern and creative simple pumpkin carving ideas. These can add a unique touch to your Halloween decorations without requiring a lot of effort. They are a bit more unexpected, you know?
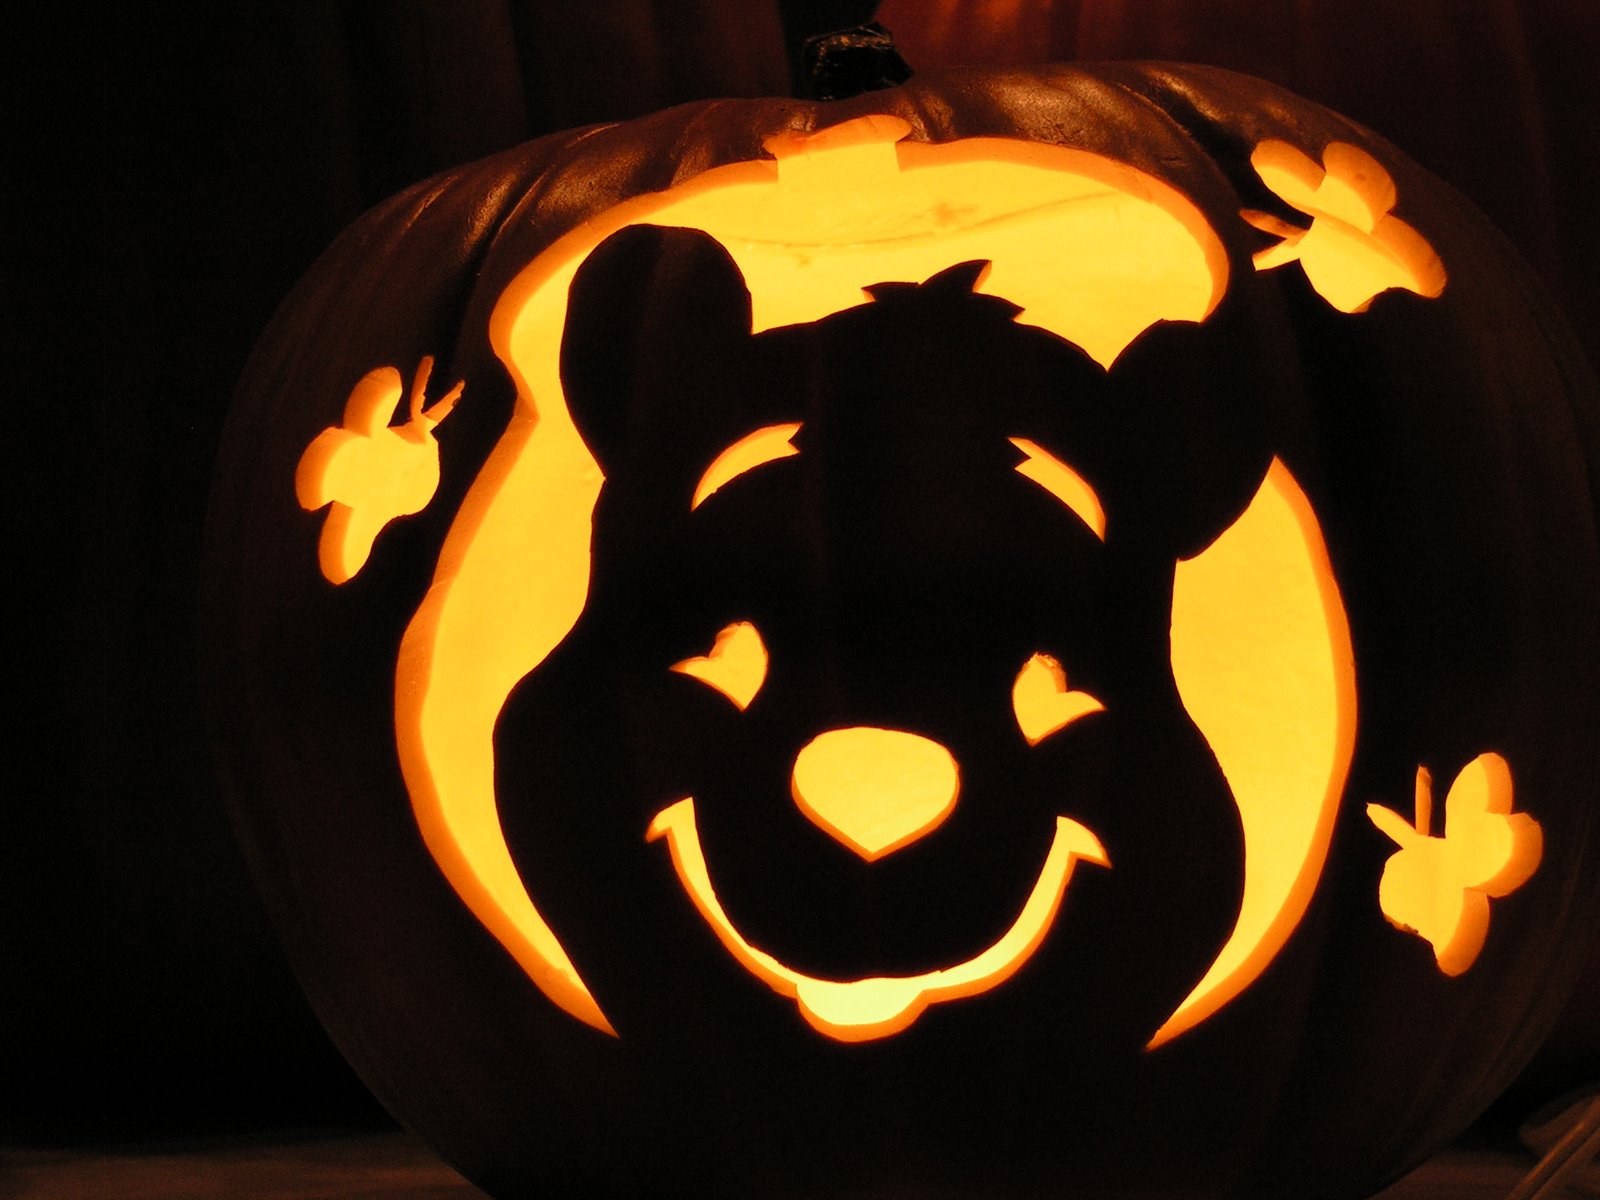
Silhouettes
Instead of a full face, try a simple silhouette. Think about cutting out the shape of a cat, a bat, a ghost, or even a witch's hat. You just draw the outline of the shape on your pumpkin and cut it out. These look very striking, especially when lit from inside. You can find simple templates online to trace, which makes it even easier.
A simple tree branch with a few leaves, or a single spider, can also make a great silhouette. The trick is to keep the shape clear and bold. Don't add too many small details. The simpler the outline, the more effective the silhouette will be. It’s a very artful way to decorate your pumpkin, basically.
Word Play
Carving words into your pumpkin is a fun and easy idea. Think about words like "BOO!" or "SPOOKY" or even "FALL." You can print out a stencil of the letters you want to use, tape it to the pumpkin, and then trace around the letters with a poker tool. Then, carefully cut out the letters. This looks really neat, especially if you use a simple, blocky font.
Make sure the letters are wide enough to be stable once carved. You don't want them to collapse. This idea is pretty versatile, too. You could put your house number on a pumpkin, or a friendly "WELCOME" for trick-or-treaters. It's a nice personal touch, you know, and quite straightforward to do.
Dot Patterns
Similar to the starry night idea, you can create intricate-looking patterns using just dots. Instead of random holes, try making a spiral of dots, or a checkerboard pattern. You can use a drill with different sized bits for varied dot sizes, or just a simple poking tool. This creates a very textured look when lit up.
This method is very forgiving, too. If one dot isn't perfect, it's not a big deal. The overall pattern is what stands out. You could even draw a simple shape, like a heart or a crescent moon, and then fill it in with dots instead of carving it out completely. It's a surprisingly elegant look for something so simple, actually.
No-Carve Pumpkin Fun: Easy Alternatives
Sometimes, you just don't want to carve, and that's totally fine! There are lots of simple pumpkin decorating ideas that don't involve any cutting at all. These are great for very young kids or for anyone who wants a super quick and mess-free way to decorate. They offer a lot of creative freedom, too, you know?
Painting Pumpkins
Painting is one of the easiest ways to decorate a pumpkin without carving. You can use acrylic paints, which stick well to the pumpkin's surface. Think about painting a ghost face, a black cat, or even just a solid color like white, black, or gold. Gold pumpkins look very chic, actually. You don't need to be an artist to paint a simple design.
For kids, finger painting pumpkins can be a lot of fun. Just let them go wild with different colors. You can also use stencils for more precise designs, like polka dots or stripes. A painted pumpkin will last a long time, too, since its skin is still whole. It's a very versatile option, basically.
Decoupage Delights
Decoupage involves gluing paper or fabric cutouts onto your pumpkin. You can use old comic books, newspaper, fabric scraps, or even autumn leaves. Just cut out your shapes, apply a layer of craft glue (like Mod Podge) to the pumpkin, place your cutout, and then brush another layer of glue over the top. This seals it in and gives it a nice finish.
This method lets you create really unique and textured pumpkins. You could cover an entire pumpkin with fall-themed fabric, or create a collage of spooky images from old magazines. It's a really good way to reuse materials, and the results can be very impressive, you know, for such a simple technique.
Stick-On Style
This is probably the quickest and cleanest way to decorate a pumpkin. Just use stickers! You can find Halloween-themed stickers, googly eyes, glitter stickers, or even glow-in-the-dark stickers. Let kids go wild sticking them all over the pumpkin. This is perfect for very young children who want to be involved but aren't ready for paints or glue.
You can also use vinyl decals, which come in all sorts of designs like bats, spiders, or spooky phrases. These just peel and stick. Ribbons, bows, and even small plastic spiders can be attached with a little hot glue (again, adult supervision needed). This method is super fast and lets you change up your pumpkin's look in minutes. It's pretty much instant decoration.
Tips for a Great Carving Experience
Once your pumpkin is carved or decorated, you want it to look its best and last as long as possible. A few simple tricks can help with this. These tips make sure all your hard work pays off, you know?
Making It Last
To keep your carved pumpkin from wilting too quickly, you can give it a little bath. After carving, dunk the pumpkin in a bucket of water with a capful of bleach for a few hours. This helps kill bacteria and keeps it from rotting fast. You can also rub petroleum jelly on all the cut edges. This helps seal in the moisture and keeps the pumpkin looking fresh for longer. It's a simple step that makes a big difference, honestly.
If your pumpkin starts to shrivel, you can try giving it another water bath. Keeping it in a cool, shady spot also helps. Direct sunlight will make it decay much faster. Bringing it inside at night, especially if it's cold, can also extend its life. These little efforts can help your lovely creation last through Halloween, which is the main goal.
Lighting Up Your Creation
For lighting, battery-operated LED lights are often the best choice for simple pumpkins. They are safe, don't get hot, and last a long time. You don't have to worry about fire hazards, which is a big plus, especially if kids are around. They come in different colors, too, so you can pick one that matches your pumpkin's vibe.
Traditional candles can work, but they need to be watched carefully. They also tend to blacken the inside of the pumpkin faster and can make it decay quicker due to the heat. For simple designs, an LED light often provides a really good, even glow. It's a very easy way to light up your spooky display.
Displaying Your Art
Think about where your pumpkin will look best. On a porch step, a window sill, or even as a centerpiece on a table. Grouping several pumpkins of different sizes and simple designs can create a really nice display. Add some fall leaves, hay bales, or corn stalks around them for an
Related Resources:
:max_bytes(150000):strip_icc()/SarahStillwellPumpkin-472fac140f824adeb8354a0f5667f6be.JPG)

Detail Author:
- Name : Destinee Crona
- Username : grau
- Email : hmorar@johns.com
- Birthdate : 2004-02-07
- Address : 53955 Kris Stravenue Apt. 655 West Russel, NC 86532
- Phone : +1-865-831-1698
- Company : Hackett, Mills and Hintz
- Job : Soldering Machine Setter
- Bio : Natus recusandae asperiores perferendis. Consequuntur sed ratione dolores pariatur animi dolore. Quo illum at totam id unde dolorum porro.
Socials
tiktok:
- url : https://tiktok.com/@kris860
- username : kris860
- bio : Odio eos dolor suscipit iusto aspernatur iusto ipsum. Quod non quod eius.
- followers : 6889
- following : 1225
facebook:
- url : https://facebook.com/larkink
- username : larkink
- bio : Perferendis ut debitis quis eius voluptatem voluptatem sed saepe.
- followers : 5714
- following : 1201
